
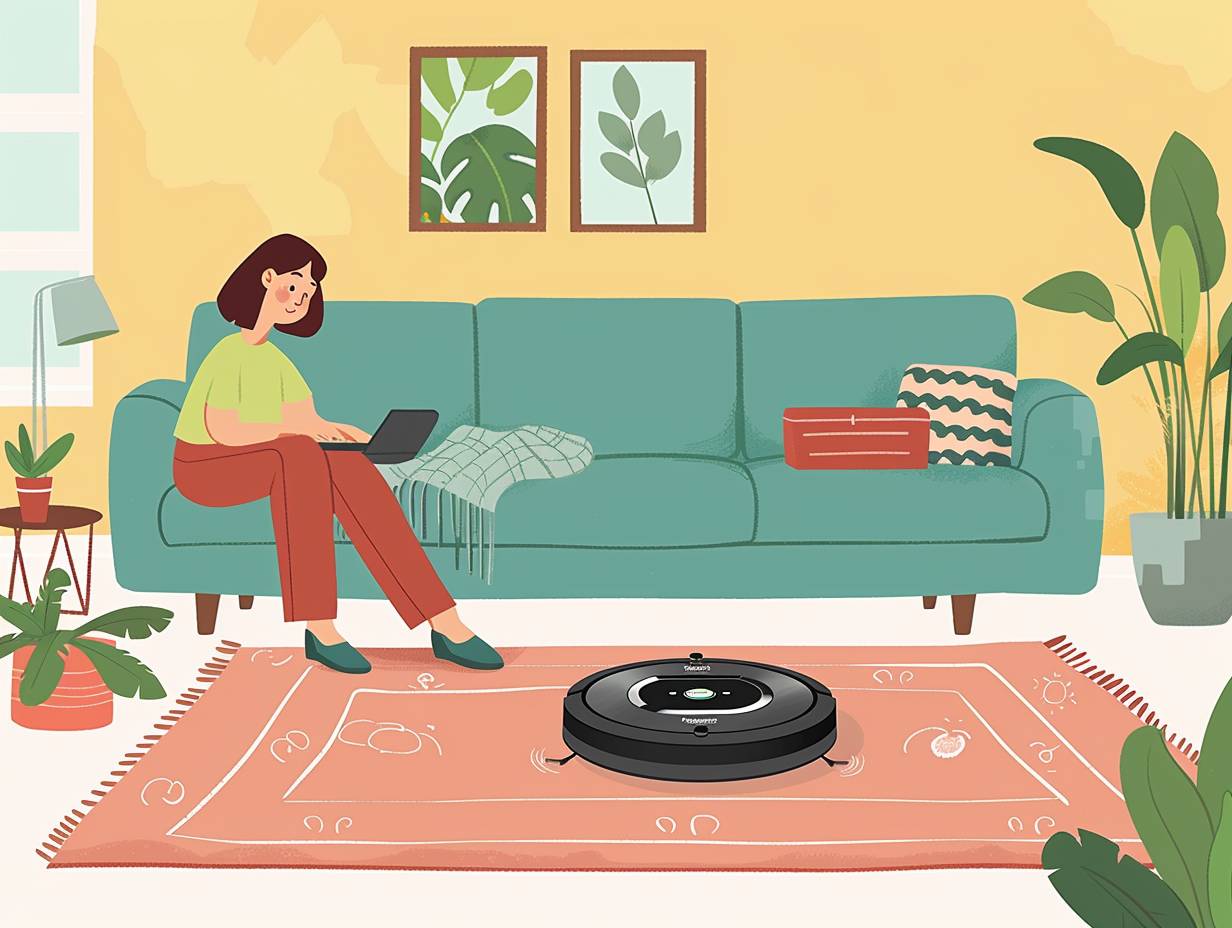
How to Start Robot Vacuum

You might think starting a robot vacuum is complicated, but it’s simpler than you imagine.
Once you unbox and inspect your new device, the next steps are important to revealing its cleaning power.
From charging and connecting to Wi-Fi to tailoring its cleaning preferences and scheduling routines, each aspect plays an essential role in optimizing its performance.
Are you ready to take the first step towards a cleaner home with your robot vacuum?
Key Takeaways
- Inspect contents for damage and completeness before use.
- Charge the vacuum fully and ensure proper functionality.
- Connect the vacuum to Wi-Fi for added convenience.
- Set cleaning preferences and schedules to automate cleaning tasks.
Unboxing and Inspection
When unboxing your new robot vacuum, carefully inspect the contents for any damage or missing parts. Start by removing the vacuum and its accessories from the packaging.
Check for any visible signs of damage, such as dents or scratches. Make sure all parts listed in the user manual are included. Look for components like the charging dock, power cord, filters, and brushes.
Inspecting the robot vacuum guarantees that it’s in good condition before proceeding further. If you notice any issues, contact customer support for assistance.
Once you confirm everything is intact, you can move on to the next step of setting up and charging your robot vacuum for its first use.
Charging the Robot Vacuum
To guarantee proper functionality, make sure the robot vacuum is fully charged before its initial use. Here’s how to charge your robot vacuum efficiently:
-
Locate the Charging Dock: Find a suitable location in your home where the robot vacuum’s charging dock can be placed without obstructions.
-
Connect the Dock: Plug the charging dock into a power outlet using the provided adapter.
-
Place the Robot Vacuum: Position the robot vacuum on the charging dock, making certain the metal charging contacts on the vacuum align with those on the dock.
-
Monitor the Charging: Allow the robot vacuum to charge uninterrupted until the battery is fully charged, as indicated by the charging status light.
Connecting to Wi-Fi

Make sure your robot vacuum is connected to your home’s Wi-Fi network for added convenience and functionality. To connect your robot vacuum to Wi-Fi, follow these simple steps:
| Steps | Instructions |
|---|---|
| Step 1 | Turn on your robot vacuum. |
| Step 2 | Access the Wi-Fi settings on the vacuum. |
| Step 3 | Select your home Wi-Fi network and enter the password when prompted. |
Setting Cleaning Preferences
Consider customizing your robot vacuum’s cleaning preferences to suit your specific needs and lifestyle. Here are some key preferences you can set:
-
Cleaning Mode: Choose between options like auto-clean, spot clean, or edge clean based on the type of cleaning required.
-
Suction Power: Adjust the suction power for different floor types or cleaning needs.
-
Cleaning Schedule: Set specific times for your robot vacuum to clean daily or on particular days.
-
Virtual Walls: Use virtual walls to create boundaries that the robot vacuum shouldn’t cross during cleaning.
Creating Cleaning Schedules

Setting up regular cleaning schedules for your robot vacuum guarantees consistent maintenance of your living space without the hassle of manual cleaning. Begin by considering your daily routine and when your home is usually empty. This way, you can schedule your robot vacuum to clean during times when it won’t disturb your activities.
Most robot vacuums allow you to set up specific cleaning times for each day of the week, so take advantage of this feature to keep your floors tidy effortlessly. Remember to factor in any areas that may require more frequent cleaning, like high-traffic zones or spaces where pets spend time.
Conclusion
To sum up, you’re now ready to let your robot vacuum do all the dirty work for you. With just a few simple steps, you can sit back and relax while your new cleaning assistant takes care of business.
So go ahead, kick back and let the robot vacuum take the wheel - it’s time to sit back and enjoy the fruits of your labor!
Disclaimer: Some information is provided through AI. Users should always conduct their own research and consult with qualified professionals before making any decisions.Affiliate information declaration: We may earn revenue from the products referred on this page and participate in affiliate programs.
Related Posts

How to Stop Robot Vacuum
Halt your robotic vacuums cleaning spree with a clever trick that will leave you intrigued and ready to discover more.
How to Use I Robot Vacuum
Buzz around with your iRobot vacuum like a diligent worker bee, optimizing its performance for a cleaner home - but whats the key to unlocking its full potential?

How to Use Mi Robot Vacuum
Wander through the world of Mi Robot Vacuum as you uncover the hidden tips and tricks to optimize its cleaning prowess.